
Best Kilts & Jackets For Men And Women
How To Make A Kilt
Oct
Making a kilt is fun. It is a beautiful art, and if you can learn how to make a kilt, you can make different design kilts with ease. In this article, we are discussing the concept of making a kilt. The kilt means traditional tartan kilt here; we take this kilt as an example in this article because tartan kilts are easier to make than utility kilts.
The traditional tartan kilt is easy to make as it has a front, plain apron, no design, and buttons at all; there is also no concept of buckles and belt loops. Practice in making tartan kilt helps a lot in making other difficult and more complicated kilts. If you become a master of kilts, you can also make different handmade highland products such as Sporrans, Flashes, tartan ties, Tartan trews, etc. In the next paragraph, we are going to discuss the concept of making a traditional tartan kilt.
How To Make A kilt
It is a common question for many kilt lovers who want to know how to make a kilt. The following steps must keep it in mind before making a kilt.
1. Fabric For Kilt
- Choose The Tartan By Clan
- Choose The Tartan By District
- Universal Tartans
- Measurement
- Calculate The Material
- 4. Hem The Material
5. Pleating
- Making The Pleats
- Iron The Pleats
- Stitched The Pleats
6. Waistband
7. Straps And Buckles
Fabric For Kilt
Fabric is very important because, without fabric, there is no concept of any garment. For making a tartan kilt, there is a need for a tartan. Tartan is divided into three categories that give you many options to choose which type of tartan you want in a kilt.
- Choose The Tartan By Clan
Tartan colour depends on the clan; every clan has its tartan, which is also said to be family tartan
- Choose The Tartan By District
There are also district-wise tartans such as USA tartan, UK tartan, cities, and county-wise tartans.
- Universal Tartans
If you did not belong to any of the above tartans, then there are also universal tartans. Universal tartans are the tartans that are not only for the Scottish people but also every man can wear a kilt in these tartan colours.
Measurement
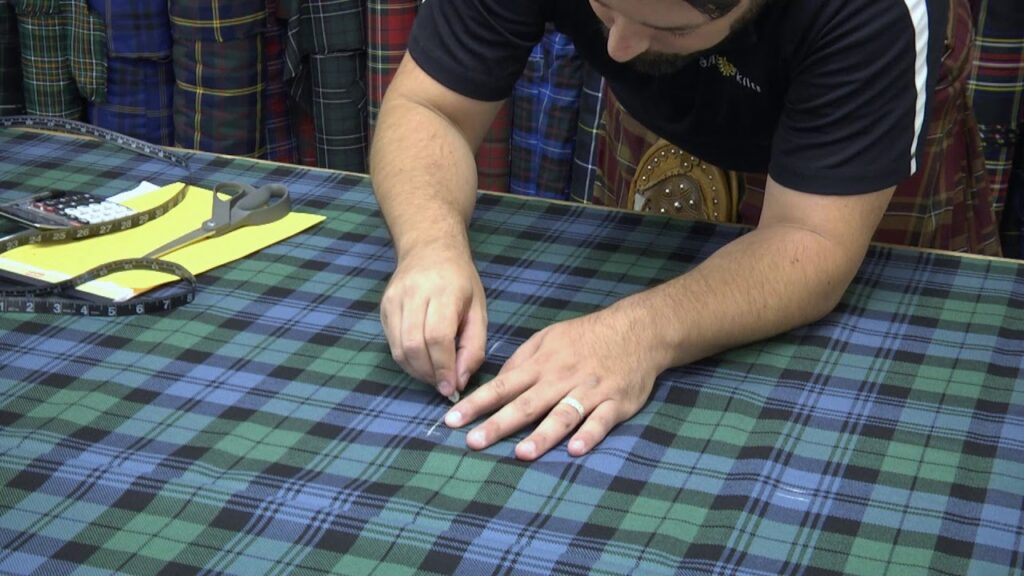
When you decide which tartan you want in a kilt after that measurement is the second step. Whether you are making a kilt for yourself or a client, perfect measurement is important. For an exact measurement, you need the following tools
- Pencil
- Paper
- Measuring Tape
Remember, the kilts measurement is always different from pants or trouser measurements.
Waist Measurement
Waist measurement is very important; you should stand erect and never hold your breath because improper waist measurement kilts will never fit in your body waist. Instead, use a standard measuring tape around your belly button or where you want to wear a traditional tartan kilt.
Length Measurement
Kilts length measurement is also a very important factor, and for this measurement, you should take help from your family member or friend. The measuring tape should point to the fastening area below the top of the knee where you want the length of kilts.
Hip Measurement
The hip measurement is also an important factor, and sometimes it is required when you want to wear the kilt at the hip. You should measure the widest part of the hip with the measuring tape.
Calculate The Material
You need more material for making a kilt because you have to make a waistband and pleats. For example, if your tartan has patterns which 6 inches wide, then each pleat will be one inch wide. However, the material is calculated by multiplying the half measurement with the pleat width and adding an extra inch.
Hem The Material
The edge of the material is now hemmed by using the latest sewing machines. Cut half of the material, first hem the upper side, and then hem the lower side of the tartan material.
Pleating
Pleating is very important; if you pleats perfectly then, it increases the look of the kilts.
- Making The Pleats
Making the pleat is an art; you already purchased more material for pleating. Use the pin to do better pleats.
- Iron The Pleats
Use the latest Iron to do flat pleat.
- Stitched The Pleats
Hem each edge of the pleat with the sewing machine.
- Trim The Excess Material
You must trim the excess material with a suitable scissor. Trim the material carefully as it may do not affect the other pleats.
Waistband
In this step, you must cut the cloth for the waistband. The waistband size should be one inch more than the waist size. For example, if your waist size is 32 inches, your waistband size must be a minimum of 33 inches.
Stitch The Waist Band
Now you stitched the edges of the waistband with your sewing machines. You also stitched straight in this way; it makes the kilt durable.
Straps And Buckles
In tartan kilts, leather straps are used rather than tartan straps. The leather straps and buckles are stitched carefully with the sewing machine. In utility-style kilts, tartan fabric straps are used instead of leather straps.
Two Pockets
If you are making utility-style tartan kilts, then pockets are an essential step in this regard:
- You must trim the clothes for making the two storage pockets.
- It would be best if you had brass studs and buttons to decorate the pockets.
- The buttons and other hardware should be double stitched.
Hem The Pockets
Now hem the pockets with your sewing machines. Next, you must hem the edges of the pockets with the same thread you previously used in the pleats, waistband and other parts of the kilt.
After fulfilling every step for making a kilt, you must cross-check the stitching of the kilt. It must be double stitched, which gives durability to the Scottish kilt.
It is done, now you can able to know how to make a kilt. Moreover, you can able to make not only tartan kilts but also other types of kilts. So wear your new tartan kilts and enjoy it.